A Guide To Completing The Ever-Normal Granary In Where Winds Meet
Despite the name, this granary is far from normal.

The Ever-Normal Granary is a Campaign Side Quest in Where Winds Meet that will take you through a series of events that will lead you to a new weekly boss to fight for rewards. It is a somewhat long but surprisingly fun questline, with a post-quest event that won’t be marked in your journal. This will be a walkthrough and guide to cover where to go and how to complete the “Ever-Normal Granary”.
How to Unlock the Ever-Normal Granary Quest
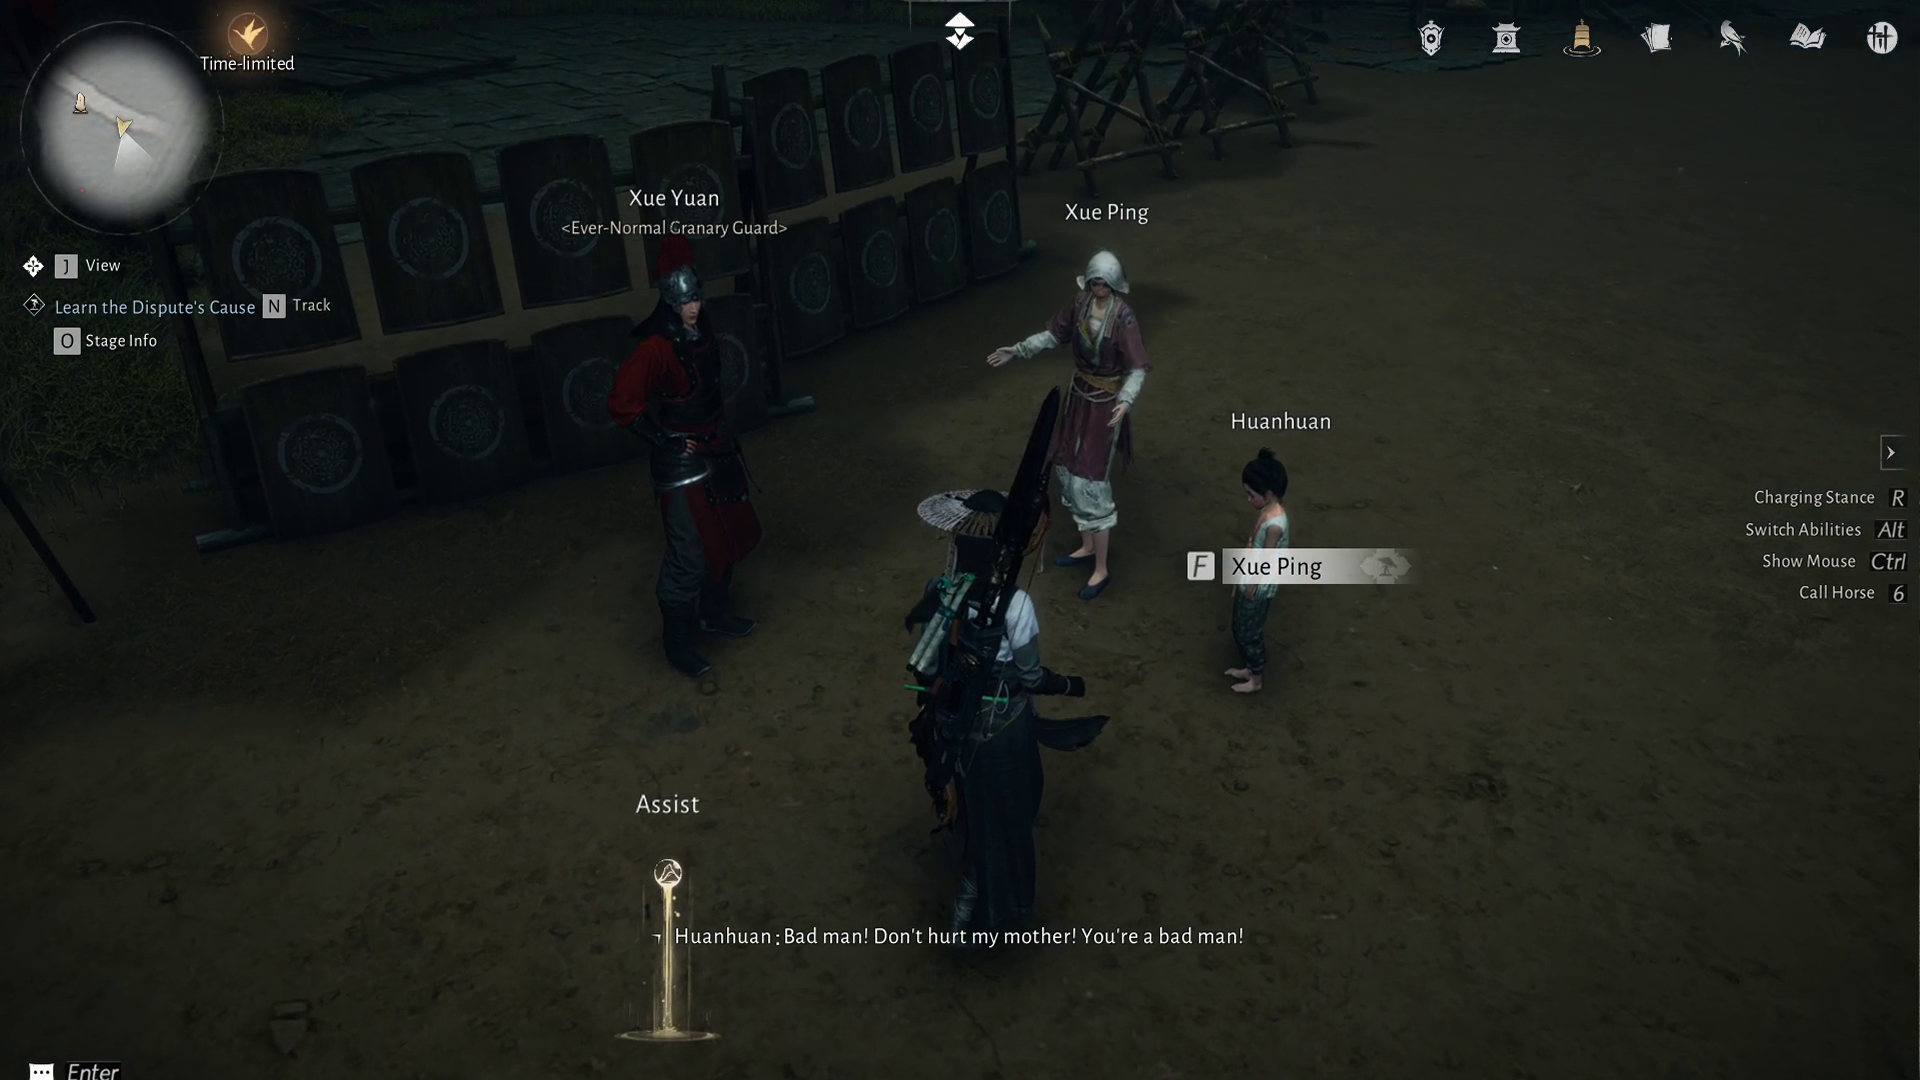
It can be found in the Southeast portion of Kaifeng, where you will begin the quest by speaking with a few NPCs to initiate the quest. Just outside of the Granary, there will be three NPCs speaking to one another. Speak with Xue Ping. That will prompt your main character to step in to help the situation. Once the dialogue with Xue Ping, her son, and the guard has been exhausted, you will be sent further East, to the Autumn Dusk Dwelling, towards the edge of Kaifeng. Unlock the Boundary Stone near this new objective if you haven’t yet, as it will minimize the amount of time you’ll have to walk around on foot later.
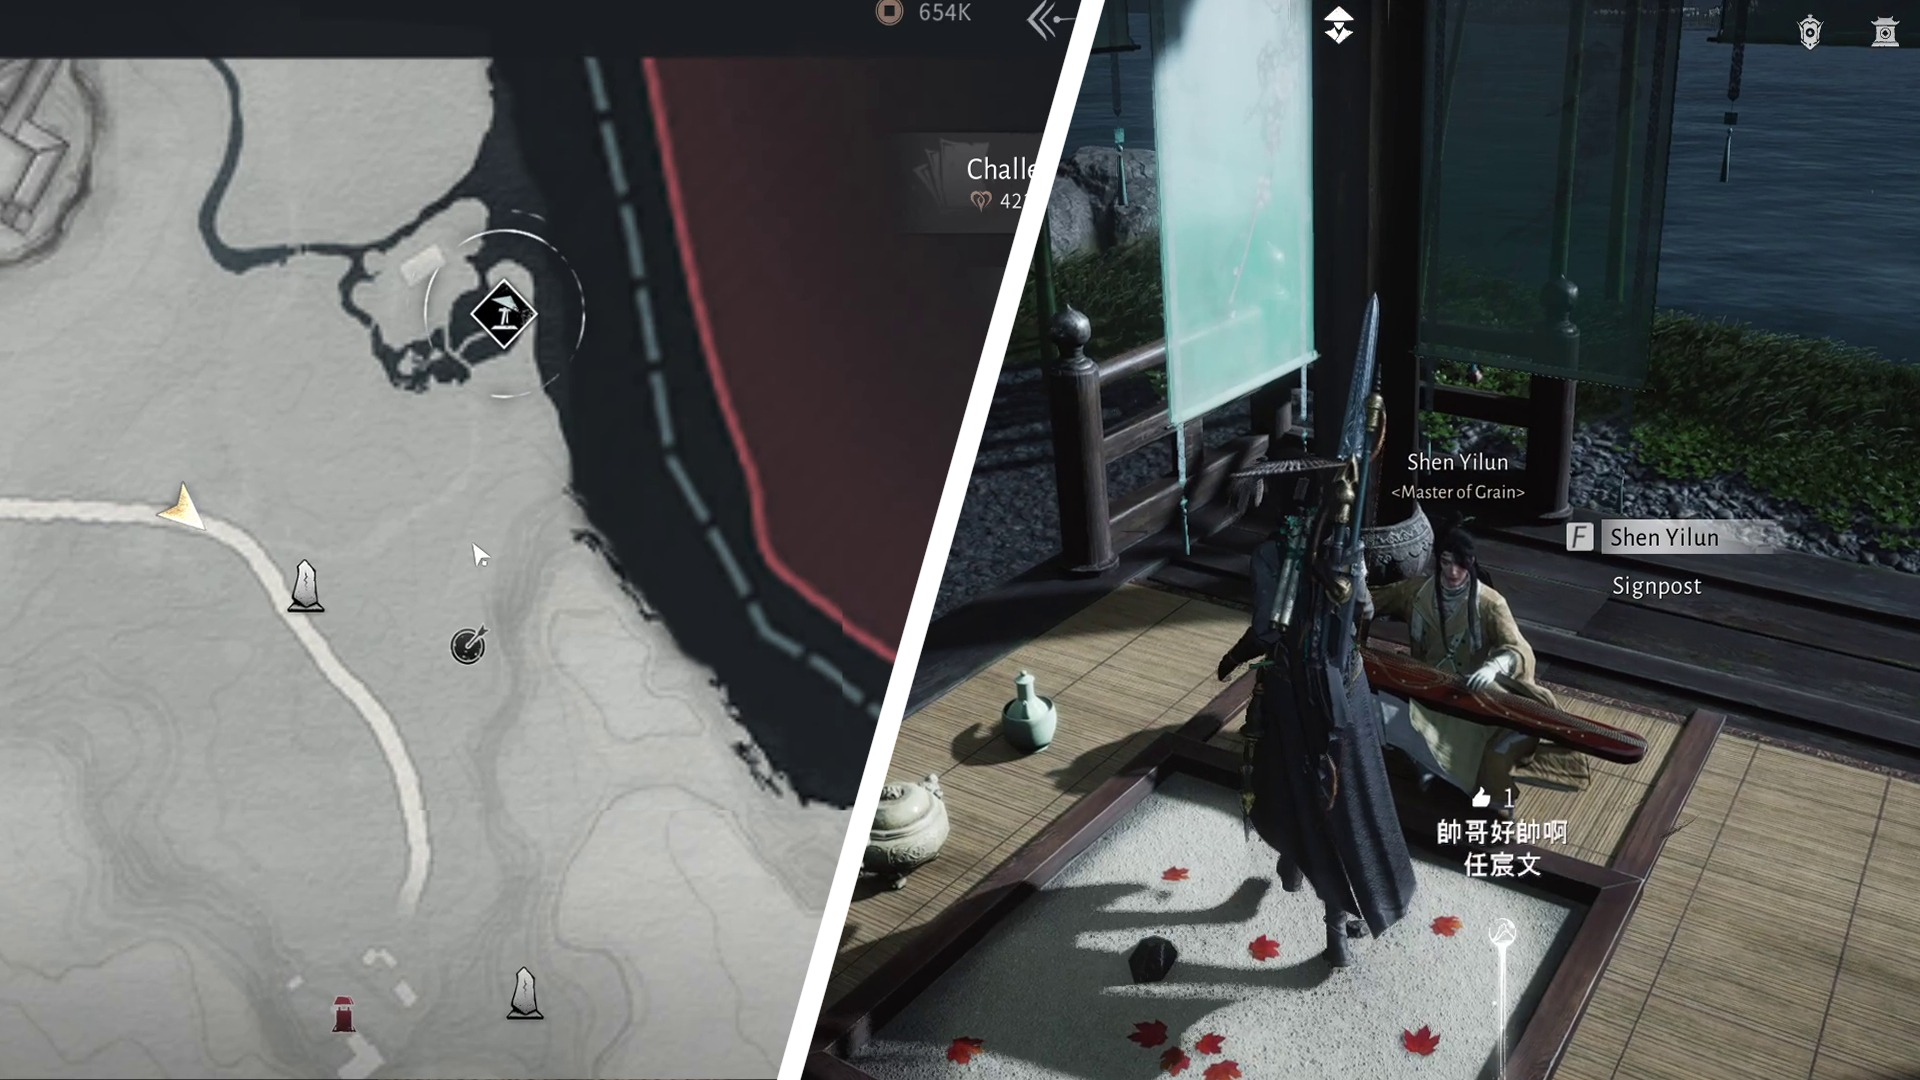
When you reach the Autumn Dusk Dwelling, speak with Shen Yilun. He will give you an Ever-Normal Token that will now let you into the Ever-Normal Granary to investigate the situation within the walls further. Return to the Granary and submit Shen Yulin’s token to Yan Yue, who is located at the Granary’s entrance. When you’ve turned in the token, you will then be granted access to the Granary and can explore the area.
Investigate the Granary
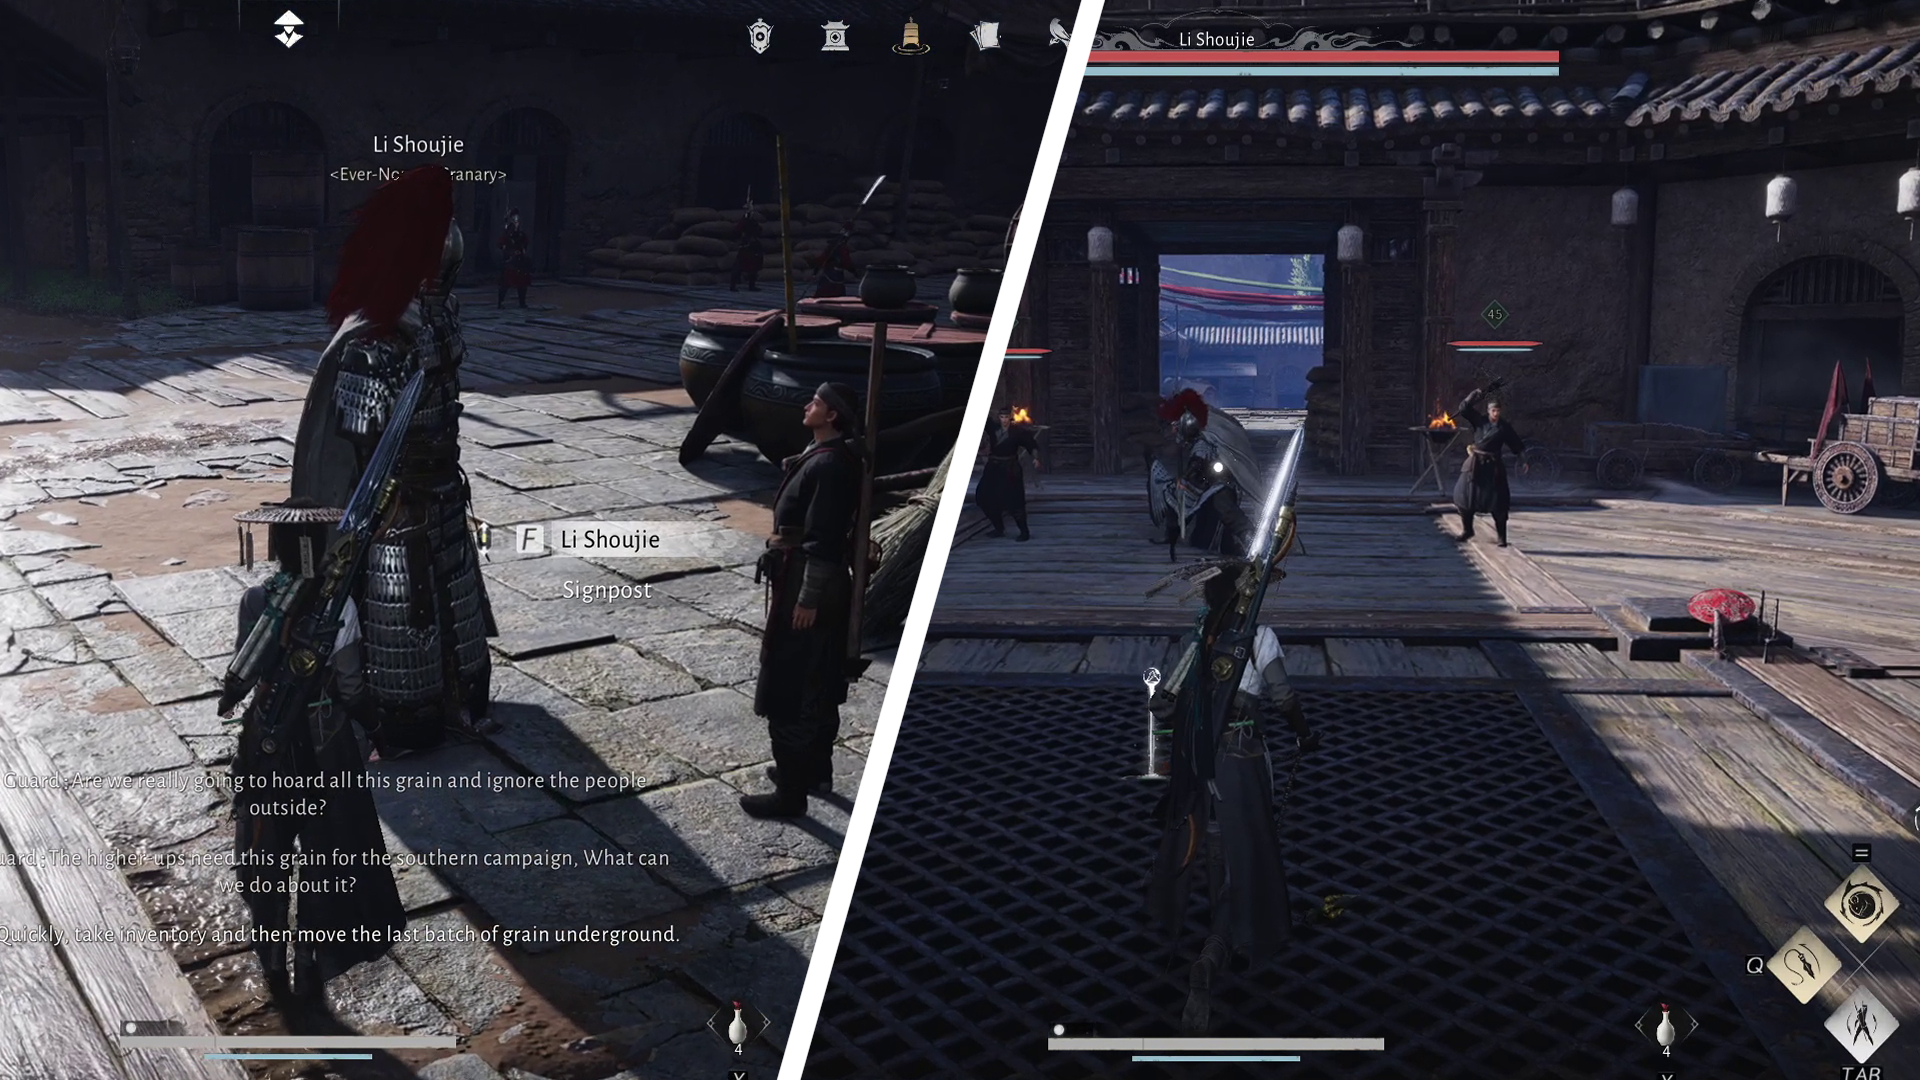
Now that you have access to the area, you can head in without interruption and follow the quest marker to speak with Li Shoujie. He will direct you to the Granary stores nearby. When inside the storage area, after you have examined each of the empty stores within the storage, Li Shoujie will reappear with two men at his side. You will need to fight all three of them to move on with the quest.
Enter the Fortified Tower
After you’ve defeated Li Shoujie and his men, a hand-drawn map named the “Ever-Normal Granary Contraption Map” will now enter your inventory. Your character will automatically inspect the map for you, so you will then need to find a way to the contraption. When leaving the storage, a path to the top of the outer wall on the left-hand side will be available; this route will have the least number of enemies on the way to the objective. There will be three enemies total in the corner, with scaffolding that you can jump onto that will lead to the wall. Defeat the enemies and move on to the top of the wall.

When you’ve reached the Ever-Normal Granary Contraption building, you will need to defeat the 4 enemies outside of the building, climb to the top of the building, and then defeat the Crossbowmen at the top. You can then interact with the elevator at the top of the building and descend to the underground portion of the quest.
The Underground Granary
When the elevator stops at the underground level, you will encounter three enemies immediately. Once defeated, you can then follow the path through to the gate. When the gate is open, you will then have to fight through another three enemies as you enter the next portion, as well as three more further down the path. Before you aggro the second set of enemies, you can shoot the rope holding boxes above them to instantly take them down and allow you to move past easily without any further delay.

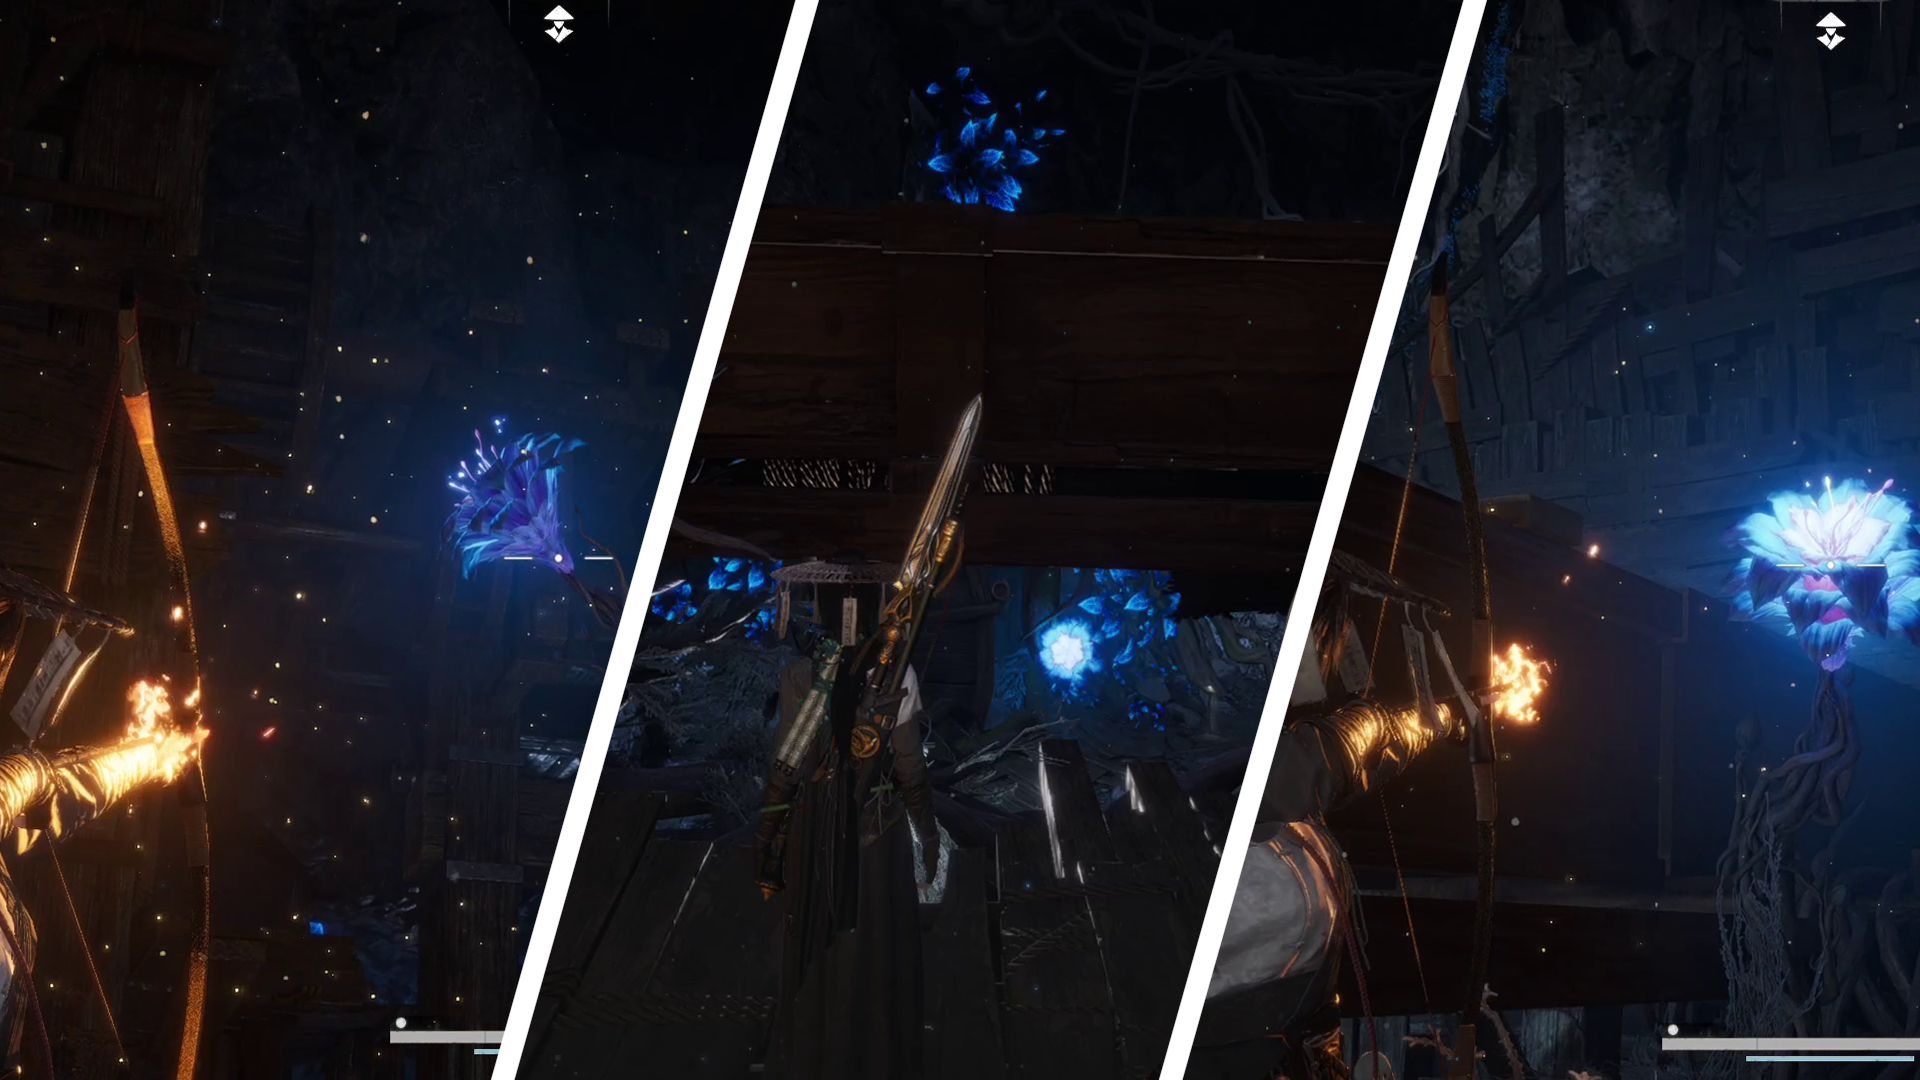
Going through the path, you will encounter a hole in the wall leading to an area enveloped in blue light that you can squeeze through. In this new spot, you will need to shoot two Dawn-to-Dusk Blossoms that are blocking the path with their vines. Use your bow’s Fire Arrows to quickly burn the flowers before they grow back and disable the vines, allowing you to move forward.
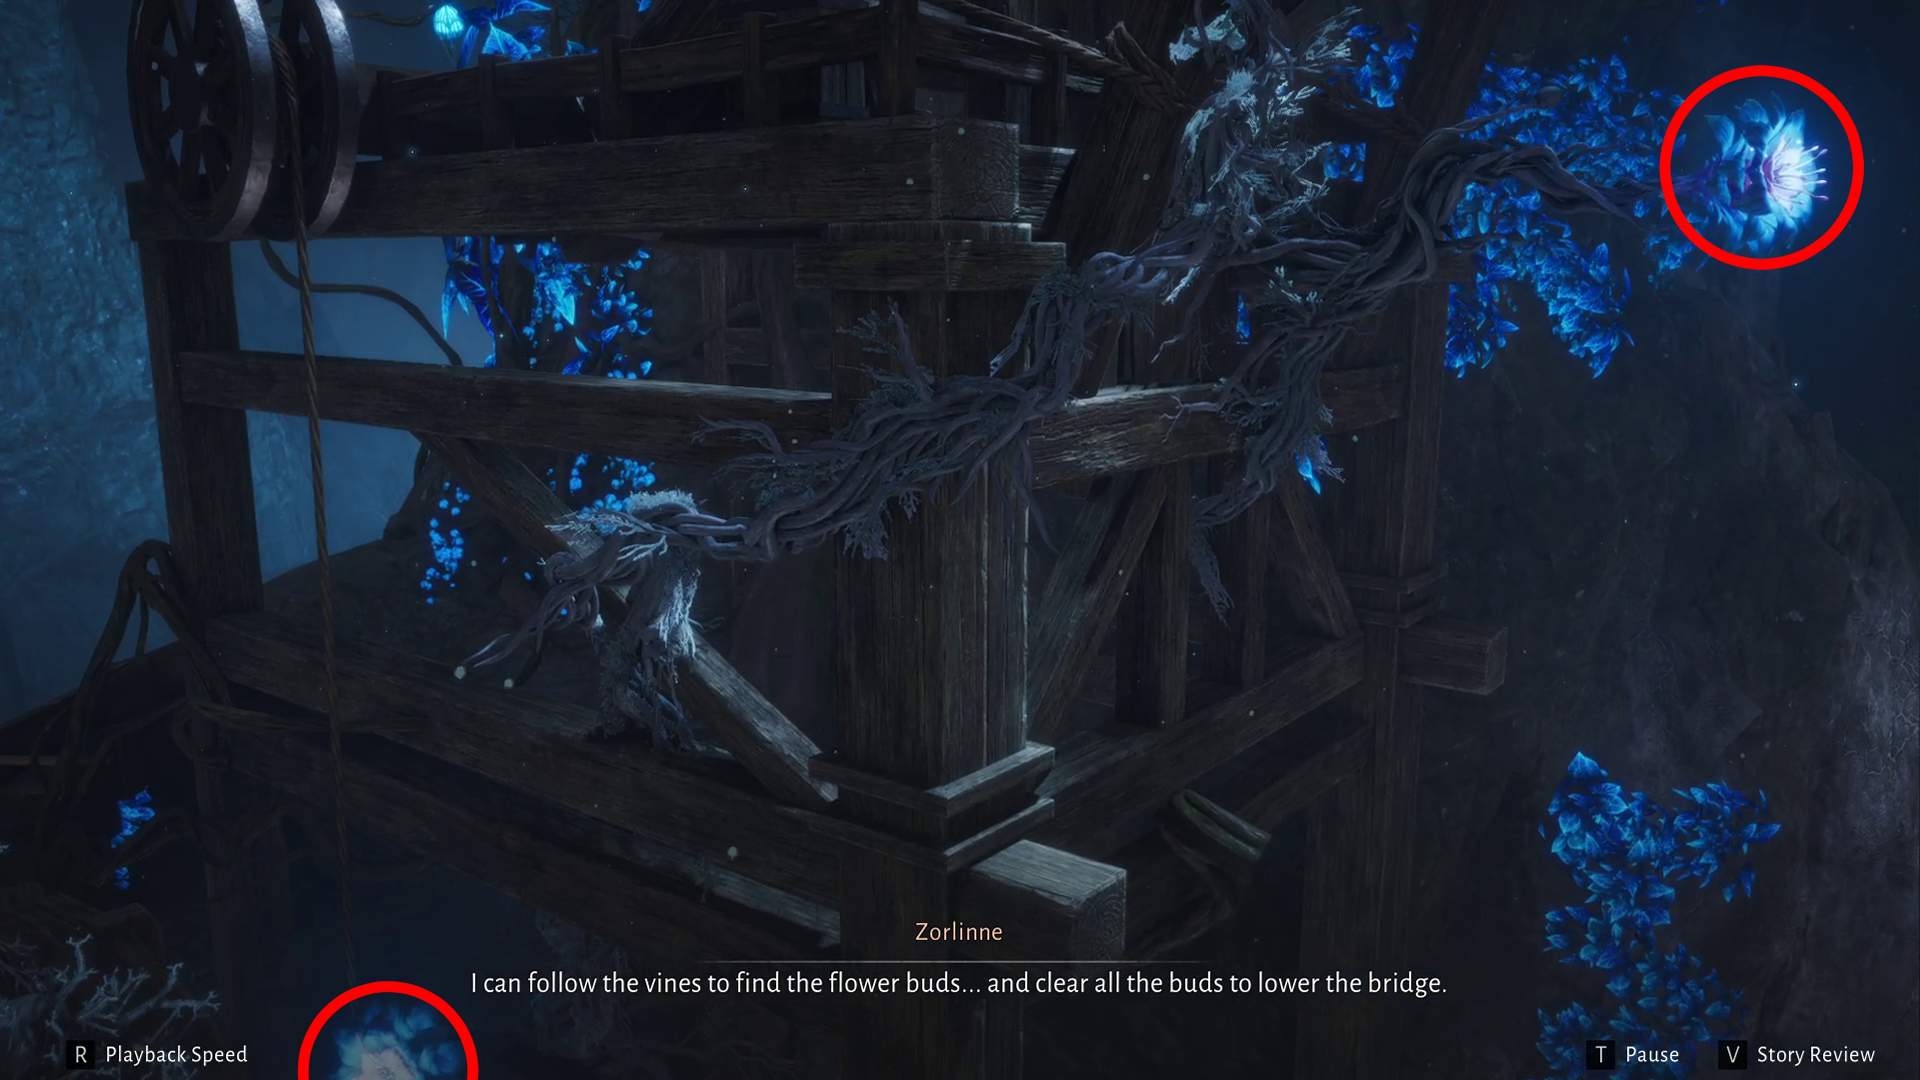
After you’ve taken care of the vines and followed the path further into the underground, you will encounter an enemy as well as a bridge that is tangled in the Dawn-to-Dusk Blossom’s Vines. You’ll need to shoot the flowers in quick succession to lower the bridge. Once lowered, you can cross the bridge, leading you to a set of three more enemies waiting for you on the other side. Defeat them to move forward and move into the next section, with one more enemy lying in wait for you before you exit the area. Proceed forward, where you will need to cross through the chasm.
Crossing Through the Chasm
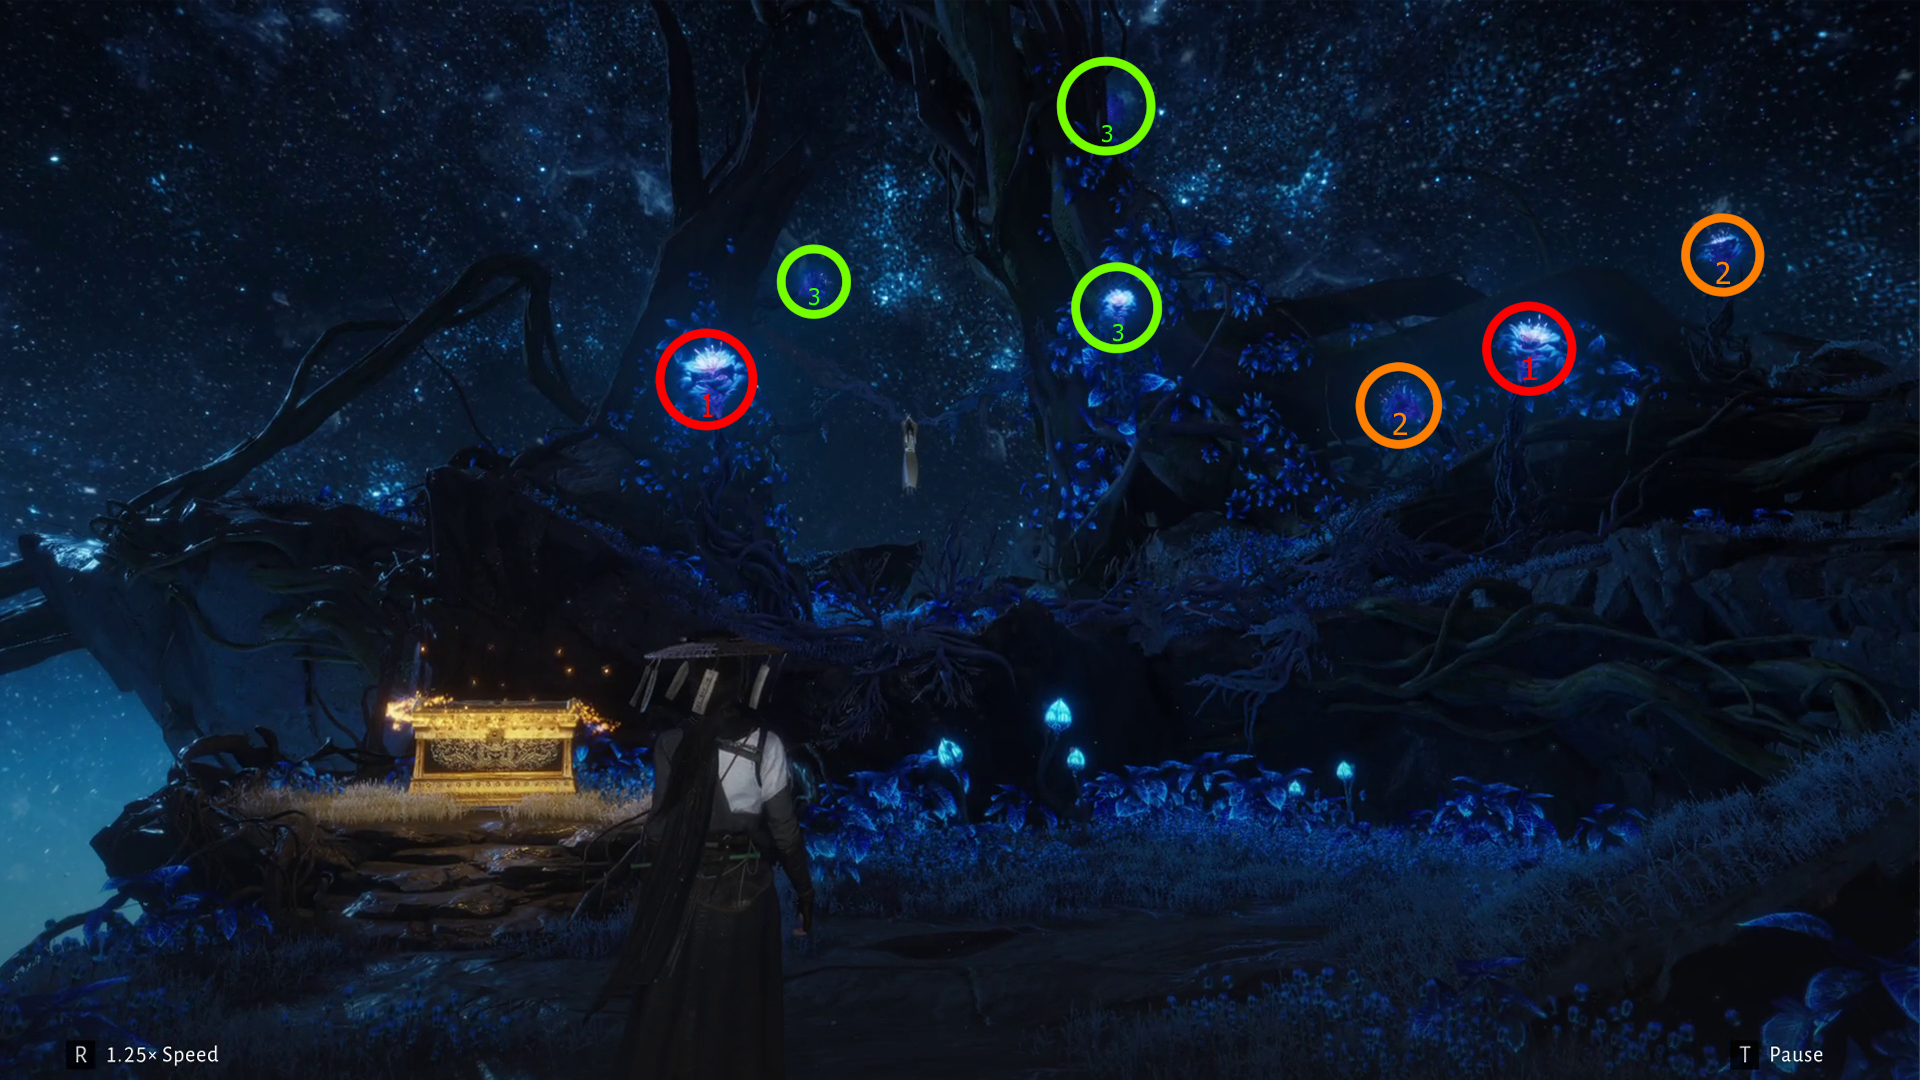
This section will start with your character examining the area, where you’ll have to look at each portion of the cliff that you can jump to after you’ve disabled the Dawn-to-Dusk Blossoms blocking where you can land. For this part, you will need to grab your fire arrows once again and burn the Dawn-to-Dusk Blossoms on each portion of the cliff, one at a time. When the flowers have been cleared on one platform, you can then grapple to it and move on to the next. In total, you will need to grapple to three platforms here, and the fourth and final grapple will lead you to a cutscene when you go on to move to the next area.
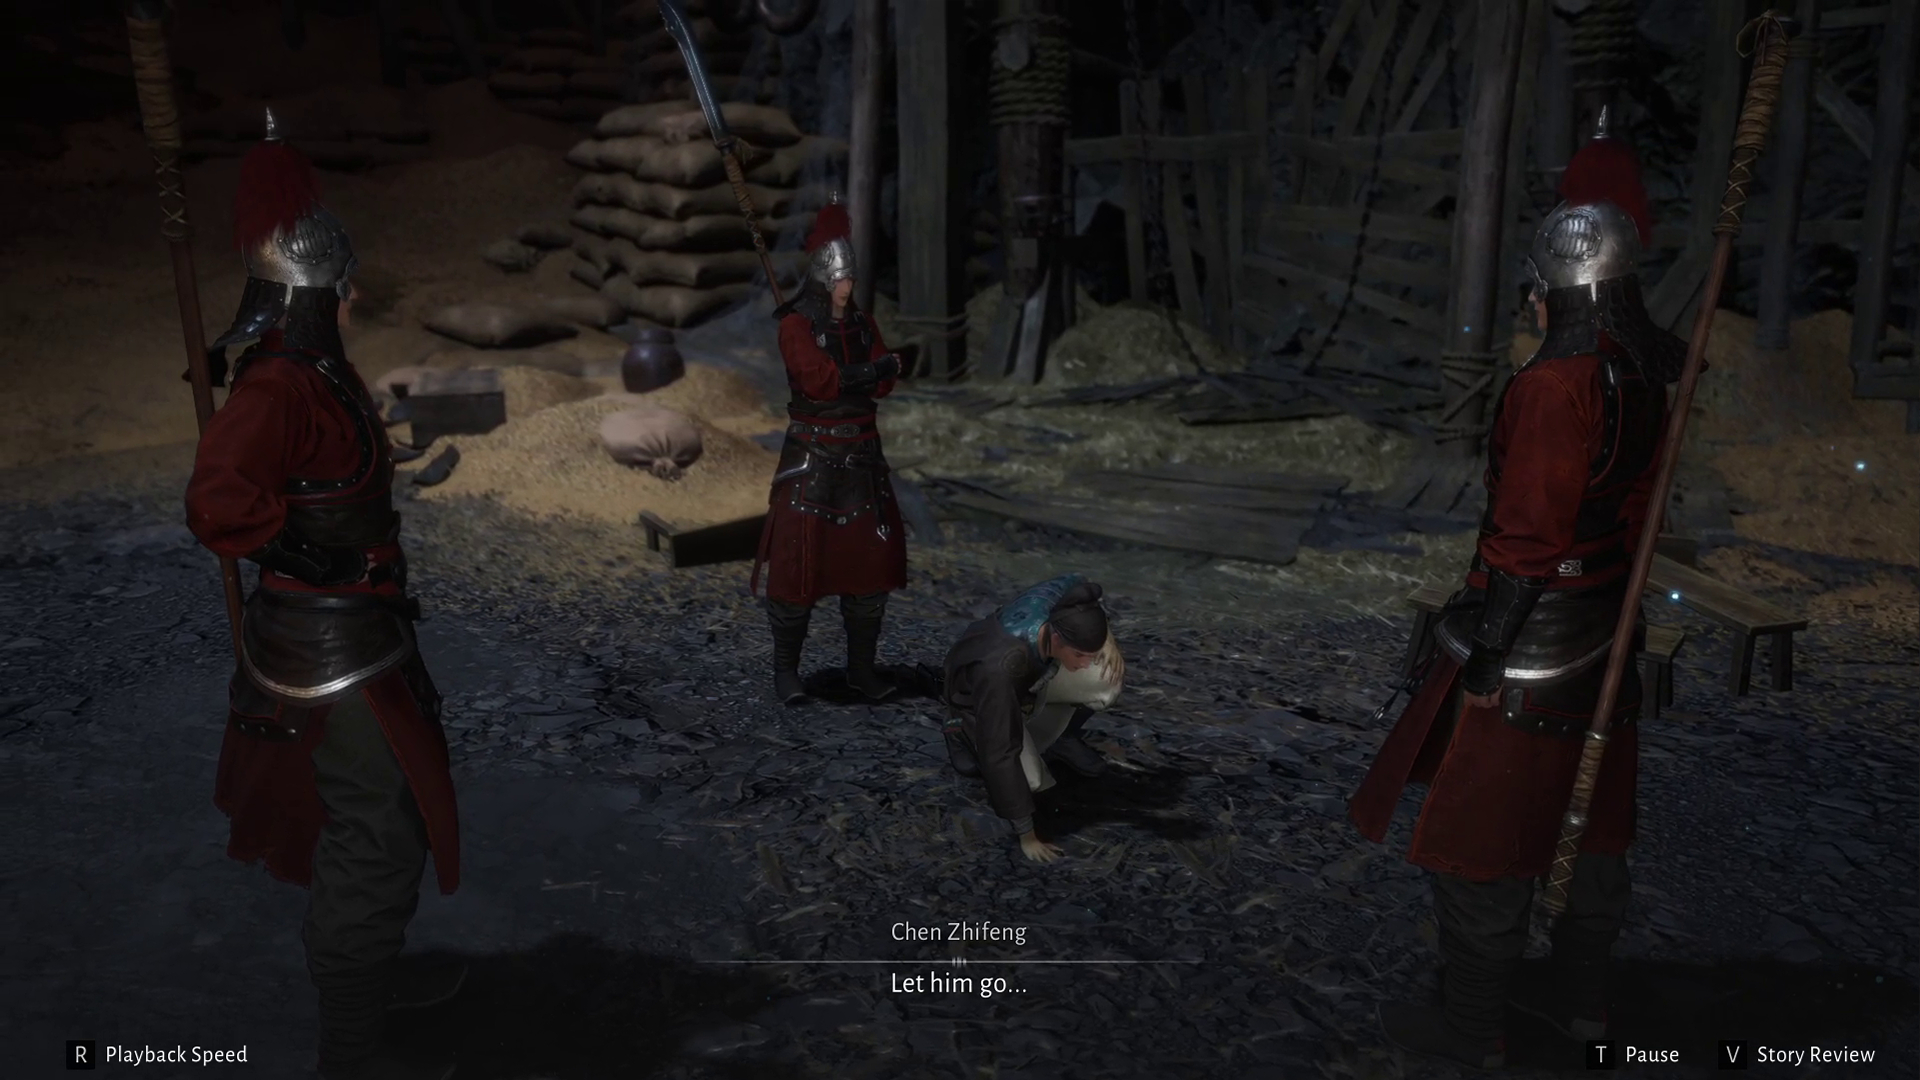
When you’ve moved through the chasm and reached the cutscene at the end, you can then crouch to move through the fallen scaffolding. When you’ve moved through the cave, you’ll get another cutscene of three soldiers talking to and bullying a worker. When the scene plays out, you will then have to fight the soldiers and speak with the worker afterward. Follow the path forward, where you’ll find two enemies outside of a gate you need to unlock with the mechanism in front of it. Defeat the enemies, unlock the gate, and use the elevator behind the gate to the lower section with a locked water wheel.
 Unlocking the Water Wheel
When you’ve reached the water wheel, you will be given a cutscene with a locked gate that needs the water wheel to be unlocked so that the gate can be opened. When you enter the area with the gate, go to the left-hand side to where the cave will open up with a storehouse in the background, and follow the path to the right of the room. This will lead you upward and to three enemies to fight. When the enemies have been defeated, you can activate the mechanism for the water wheel to the right of where the enemies were located.
With the wheel unlocked, you will now need to disable three more Dawn-to-Dusk Blossoms located in the room. There will be one to the left of the mechanism you used for the wheel, and another to the right, with the last one being in the middle of the wheel room visible through the beam in front of the mechanism.
Follow the path through the now unlocked gate, which will lead you to an NPC that has been kept prisoner, tied up via the Dawn-to-Dusk Blossoms vines. These need to be burned in a specific order as well. To start, you will need to disable the first two flowers that will be the closest to where you are as you approach the NPC. The second batch you need to shoot will be the ones located on the ground next to the giant vines on the right. Finally, you can shoot and disable the final three. These will be on the vines to the left and right of the NPC. If you go to the right-hand side of this platform, you can easily find all three flowers to shoot, freeing the man from his prison.
Fighting Zheng E
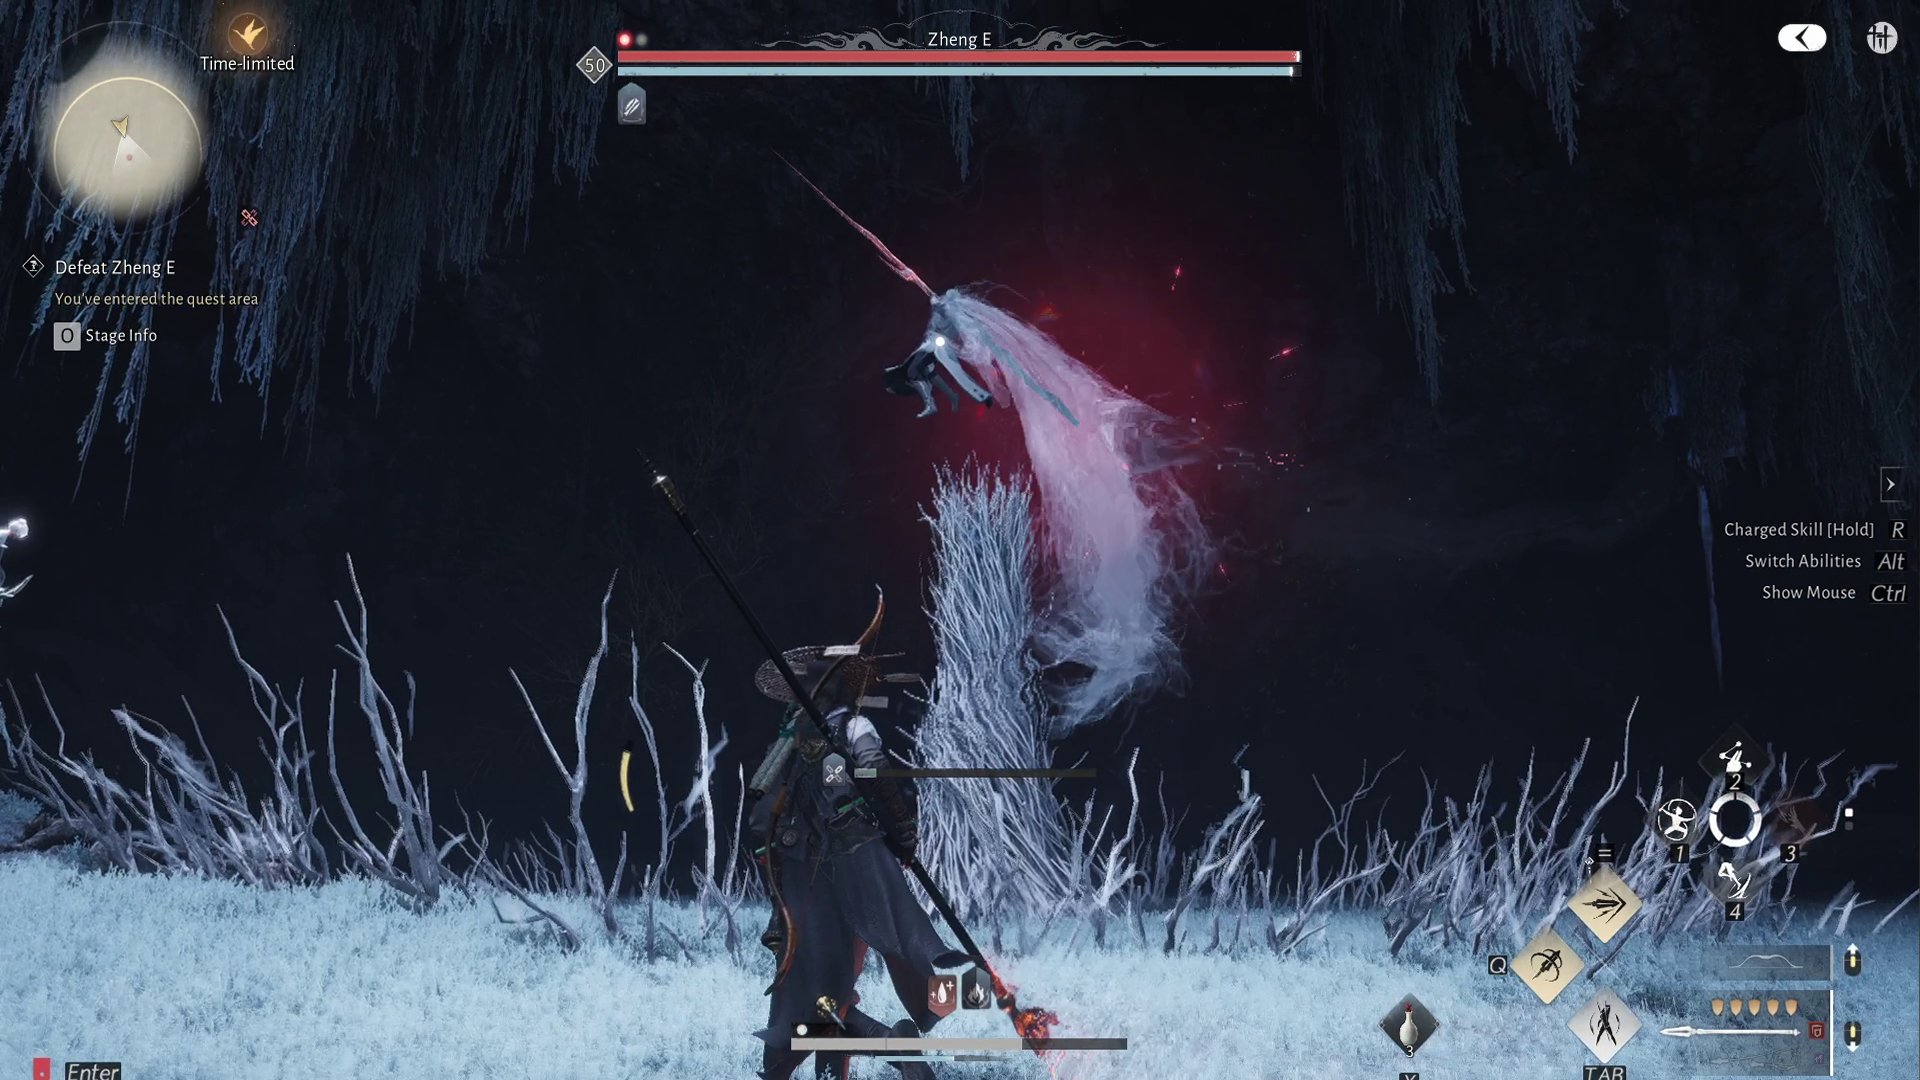
After freeing Shen Yilun from the prison of Zheng E’s making, he will lead you to the next section of the underground. Squeeze through the wall, and you will be pulled into a dream sequence that you’ll need to navigate through before moving into an open area. Move towards the middle, and a cutscene will be with Zheng E before the battle with him begins.

The fight with Zheng E can prove to be quite difficult if you aren’t prepared for a boss fight. He has two phases, and his moveset will utilize quick melee and ranged attacks that can catch you off-guard. Go into the fight with a focus on parrying as much as possible from him to deplete his Qi quickly and stun him. This will give you the chance to unload some combos into him while he is stunned before you perform an Execution on him. Be mindful of his golden attacks that are unblockable and not able to be parried as well. While there aren’t many he will perform, they can be quite fast if you aren’t on your toes, especially in phase 2 of the fight.
The Final Story
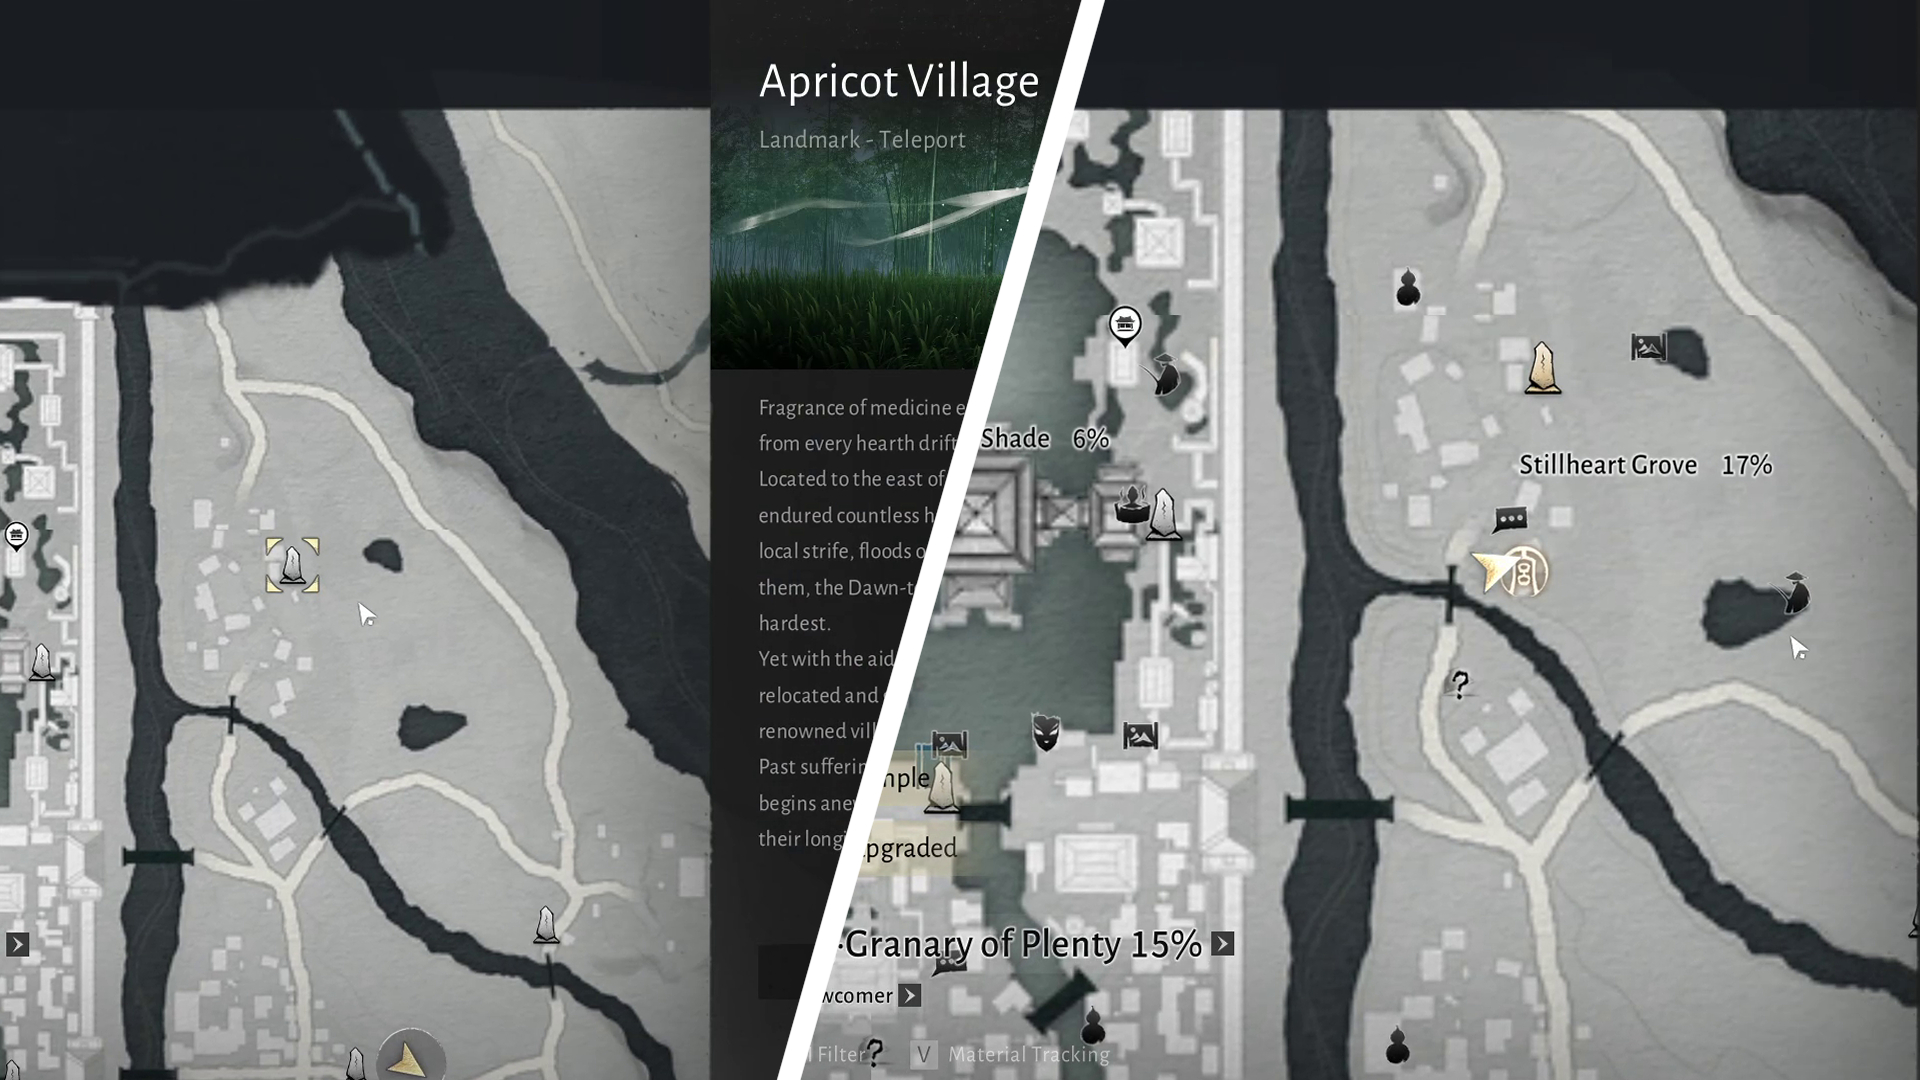
After the defeat of Zheng E, you will need to speak with him by the burned tree before you are transported back to Autumn Dusk Dwelling. For this final portion of the quest, you will need to wait 2 days in-game. Skip forward in time, and speak with Zheng E once more. He will ask you to visit Apricot Village and place his notes in the house beneath the white apricot tree.
Apricot Village can be found to the east of Kaifeng City, with a Boundary Stone to pair with the location. At the southern portion of the town, there will be a bridge. To the right-hand side of this bridge, you will see the white apricot tree. Go to the bigger building of the two on the right. Go inside, and you can place the note on the table and make your return to Autumn Dusk Dwelling. Zheng E will no longer be in the last location you had seen him at, but you can enter the nearby house to find a note left on the desk in the middle of the building. After reading the final note, the quest will officially reach its conclusion, giving you the achievement “A Promise Fulfilled”.
With the conclusion of this quest, you can always make a return to fight Zheng E for some bonus rewards, like the rest of the boss fights within Where Winds Meet. The Ever-Normal Granary Side Quest is one you should absolutely play through for a fun side story, a great boss fight, and a ton of rewards to gather to work towards getting yourself some new outfits for your character. Zheng E offers an interesting fight for some gear and is unique, making it a fun experience no matter what.
Related Articles
About the Author

Zach McKay has been enjoying games of many genres for the better part of 25 years. He has a particular soft spot for MMOs and JRPGs in general, though. From being a hero in DC Universe Online to the grizzled adventurer in Elder Scrolls Online and helping command the army in PvP, he loves to try new games and go on new adventures with his friends.
More Stories by Zach McKayRead Next

These heroes are some of the best ban targets to consider in Season 5 & Season 5.5
You May Enjoy

Design the trophy that will go to the LAN tournament winners.

Season 2 comes to an end as we follow Ramiel to the Outer Ring.

Strategists provide healing and utility to their team in Marvel Rivals. Here's how to counter each one of them.

You can officially explore the supernatural open-world city of Hethereau.
Discussion (0)