Where Winds Meet Whitecrown Fortress Quest Guide
With the release of the Hexi-Jade Pass, we see a new story unfold.
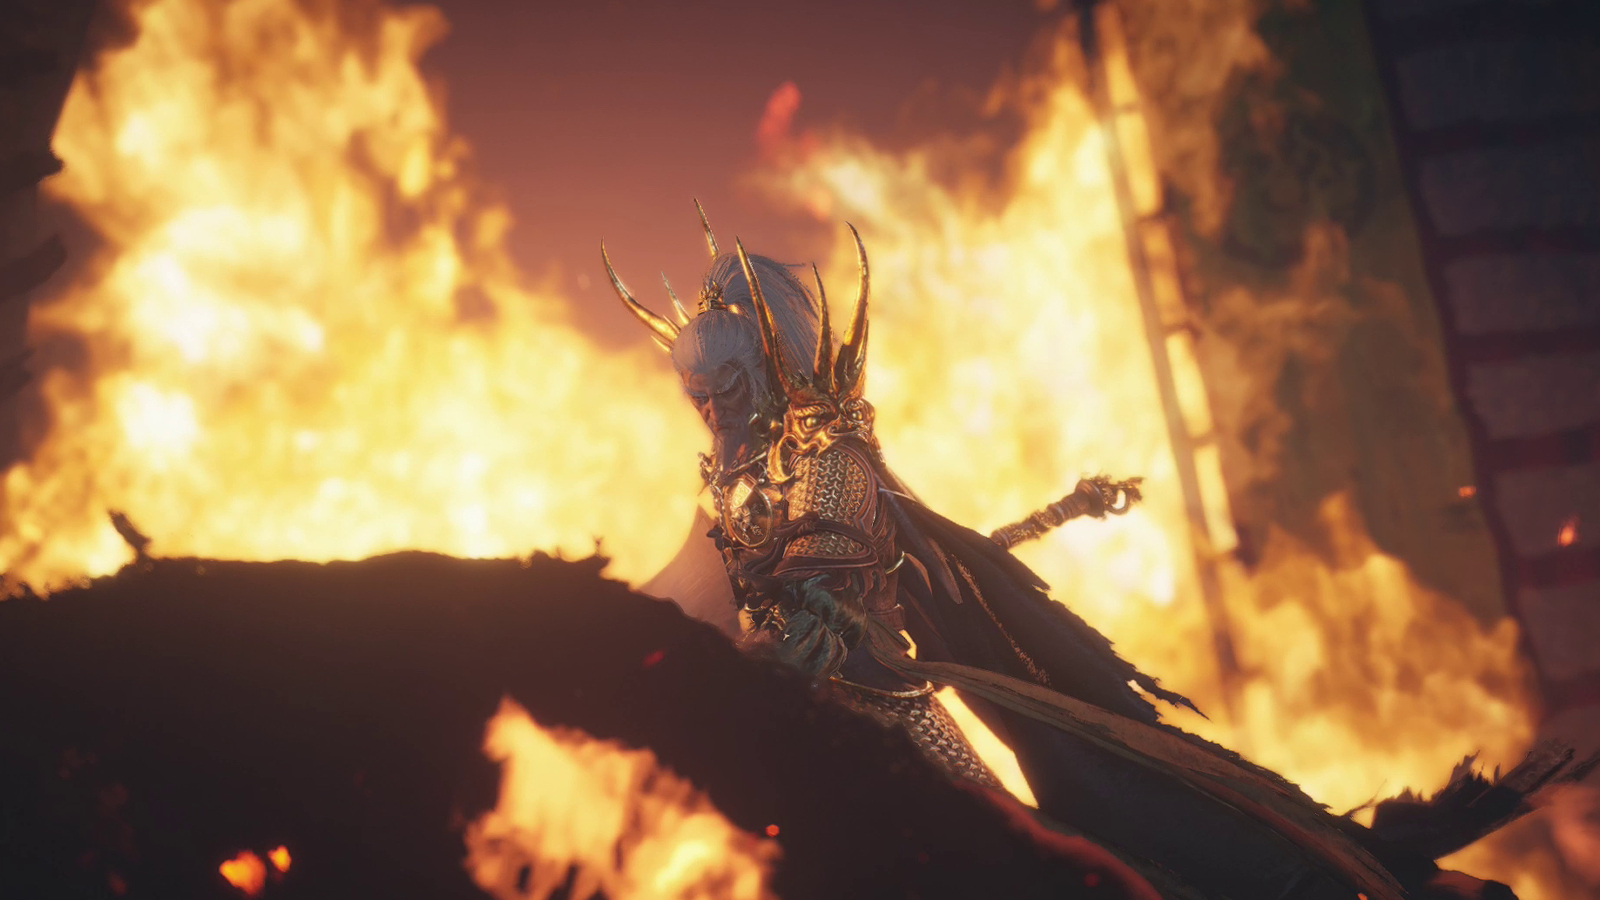
Where Winds Meet has a ton of content regularly released in updates. With the release of the latest update, the Hexi-Jade Pass gives players access to a new area as well as some new quests to take part in to get their hands on, providing more gear and upgrades. One of these quests is the Whitecrown Fortress quest, which unlocks the Iron-Blooded Prince fight. This guide will help you successfully complete that quest.
Starting The Whitecrown Fortress Quest
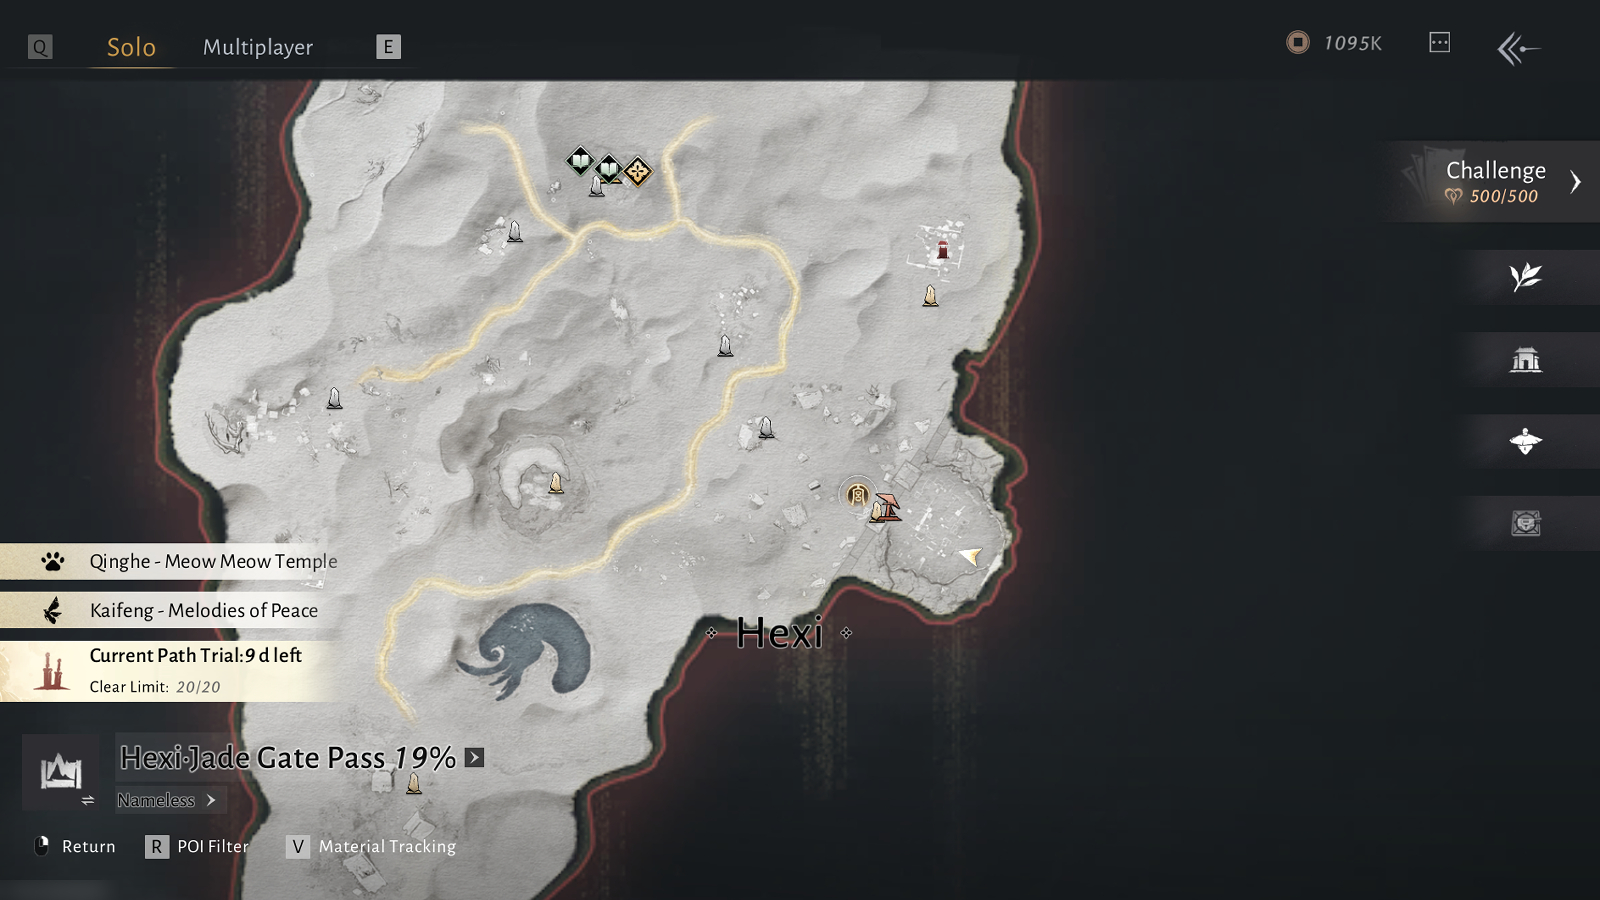
To get started on this quest, you’ll need to have access to the Hexi-Jade Gate Pass, which can be obtained by progressing the main storyline of the game. Once you have arrived, you’ll need to complete a few more objectives until the area opens up for exploration. When everything is available to you, and traversing this new map is allowed, you can make your way to the eastern section of the map. Here, there will be a fortress. Approach the fortress, but make sure to be careful as you get closer to it.
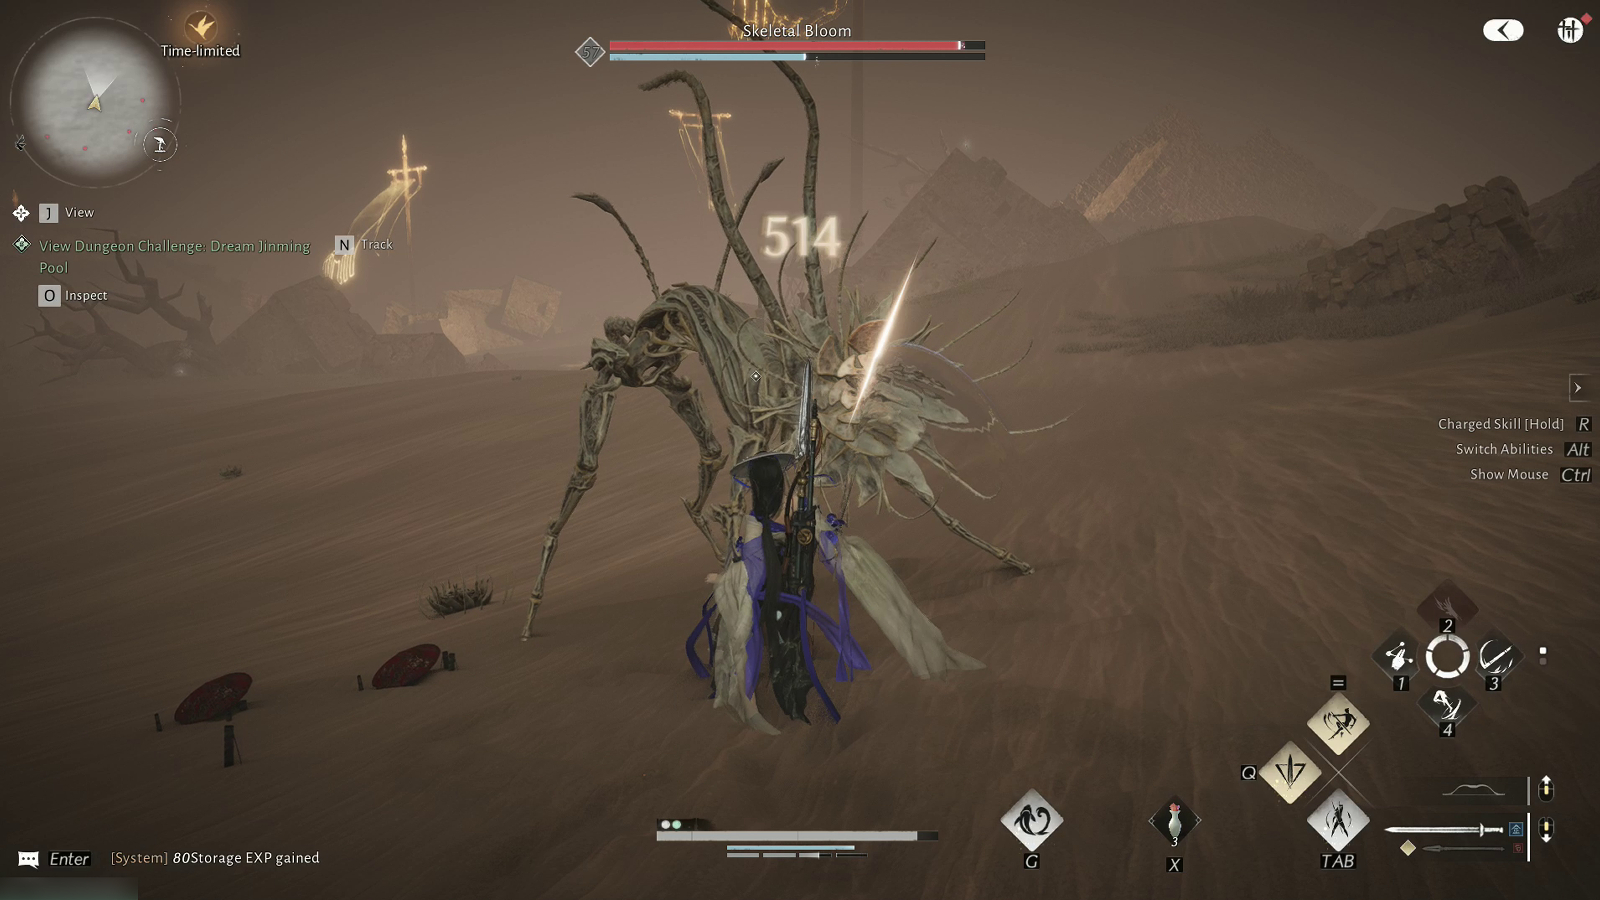
Approaching the gate will result in a Skeletal Bloom boss spawning in for a fight. This boss isn’t much different from the smaller mob versions of the boss located throughout the map. Many of its attacks will be with its tail, with sweeping and slamming attacks being fairly common from the enemy. While the boss itself isn’t very difficult, do be careful when locking onto the boss itself. If you get too close, the camera will tilt upwards and end up obscuring most of its attacks.
Entering The Whitecrown Fortress
After defeating the Skeletal Bloom, approach the gate and speak with the guard through the opening. They will briefly talk about their armor being broken and about your missing banner. From here, choose the dialogue option “Insist on entering” and enter the city to investigate the secrets within it.
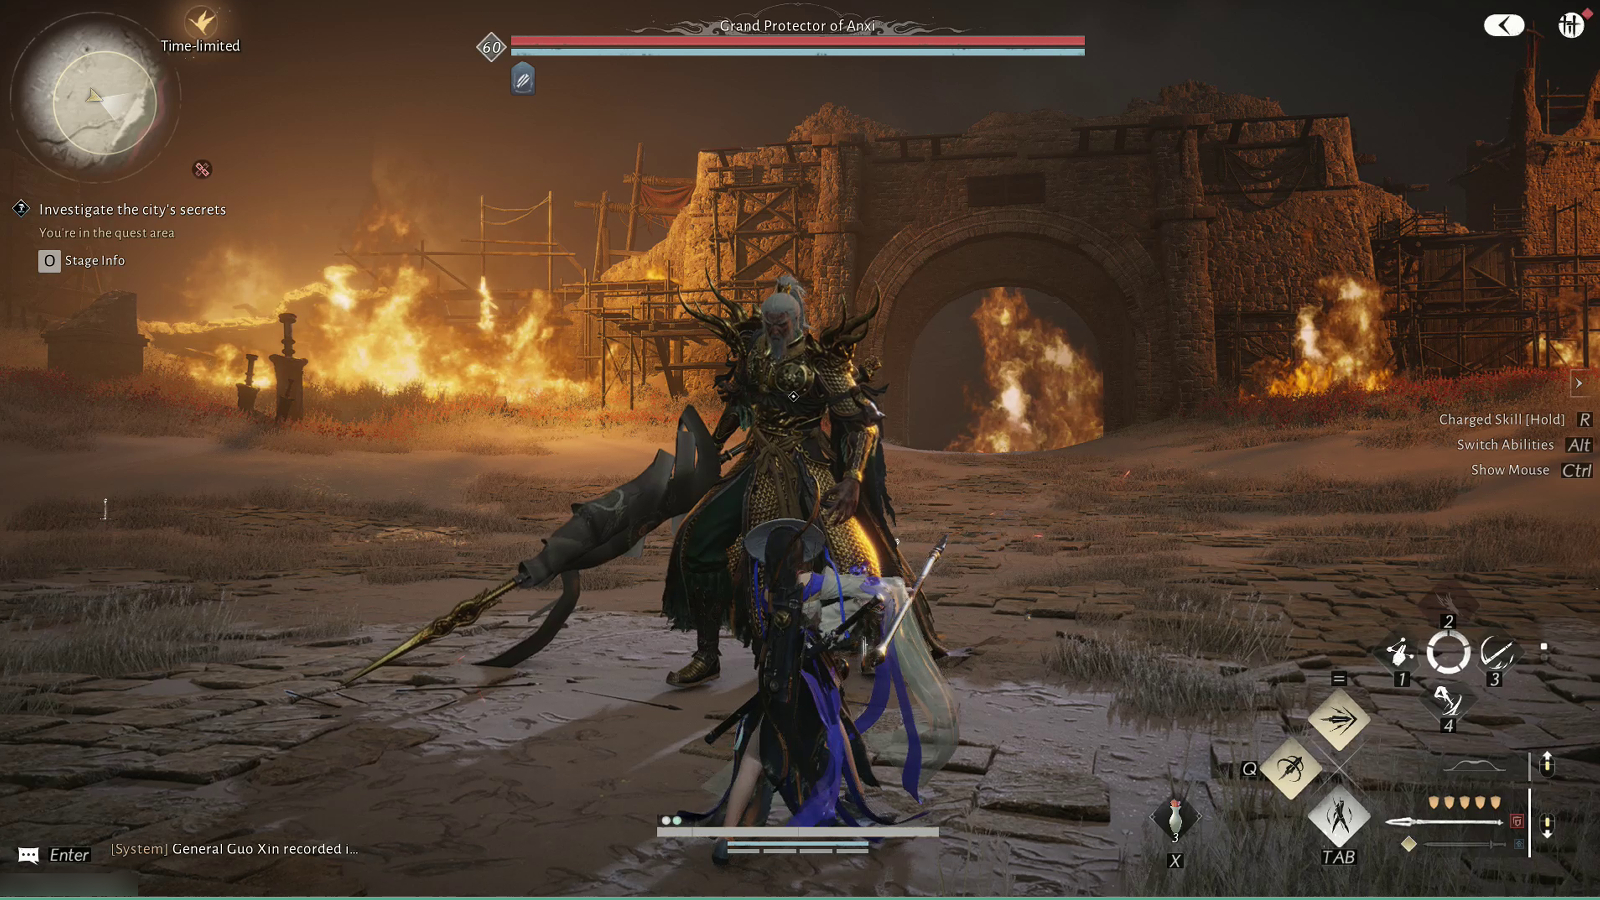
Follow the path that takes you further into the fortress, leading east. At the end of the path, you’ll encounter the Grand Protector of Anxi. He will begin a boss fight with you, and during the fight, he will summon some of his guards to help keep pressure on your character. Both he and his guard will perform sweeping attacks to keep you under pressure, but they can both be parried to keep yourself safe. Once you have depleted most of the boss’s health, you will be kicked from the fortress and given a new objective.
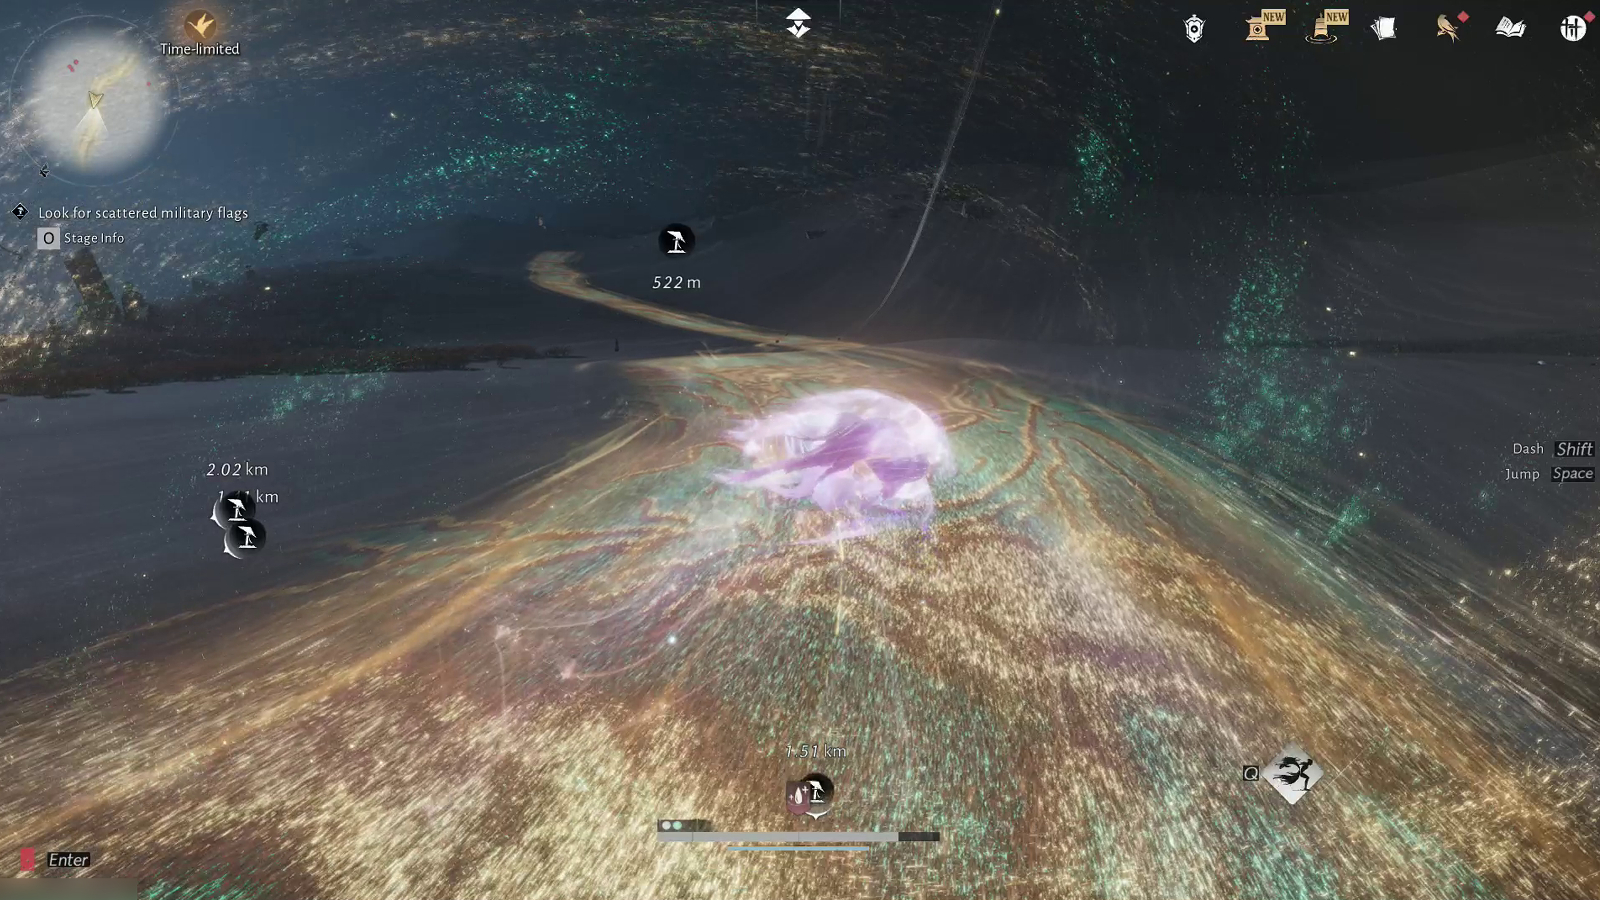
Looking For The Scattered Military Flags
After being forced from the fortress, you’ll be tasked with tracking down and finding 5 military flags scattered throughout the map. These will not be marked on your map when you open it, but thankfully, they will be marked on your HUD, and their distance from you will be given to you. Locating all 5 flags is fairly easy to do; however, gathering all of them will essentially give you a tour of the entire map. Make sure to use the golden path with this area’s new mount form to traverse between the locations quickly. Once you get your hands on all of the flags, make your way back to the fortress gate.
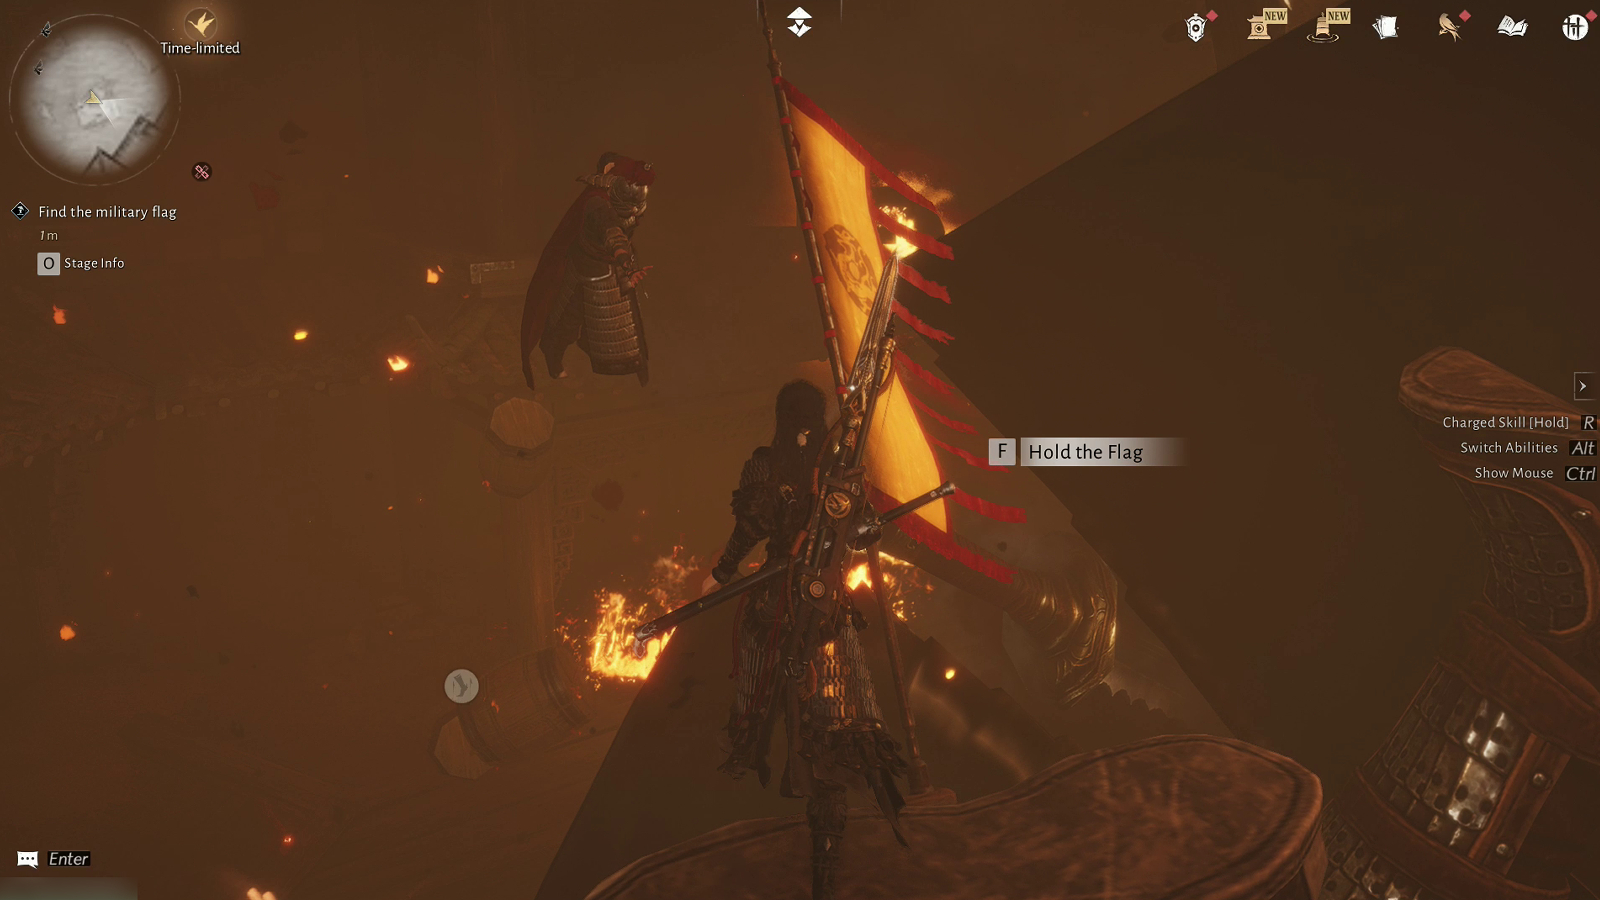
Gathering the Fortress Flags
When all of the flags have been gathered, enter through the gate once again. Here, you’ll need to gather the remaining flags on the path towards the city center. Interacting with these flags will begin the process of viewing the events that took place within the fortress. The first can be found at the start of the path. Interact with it to begin the next phase of this flag’s memory.
From here, you’ll be brought into the Grain Tower, and you’ll follow a soldier to a table. After writing the letter at the table, bring it to Yuan Ping’an and proceed through the door behind him. This will trigger an event where you’ll need to grapple up to the foot of the giant soldier falling through the floor. Interact with the flag on his boot to proceed further.
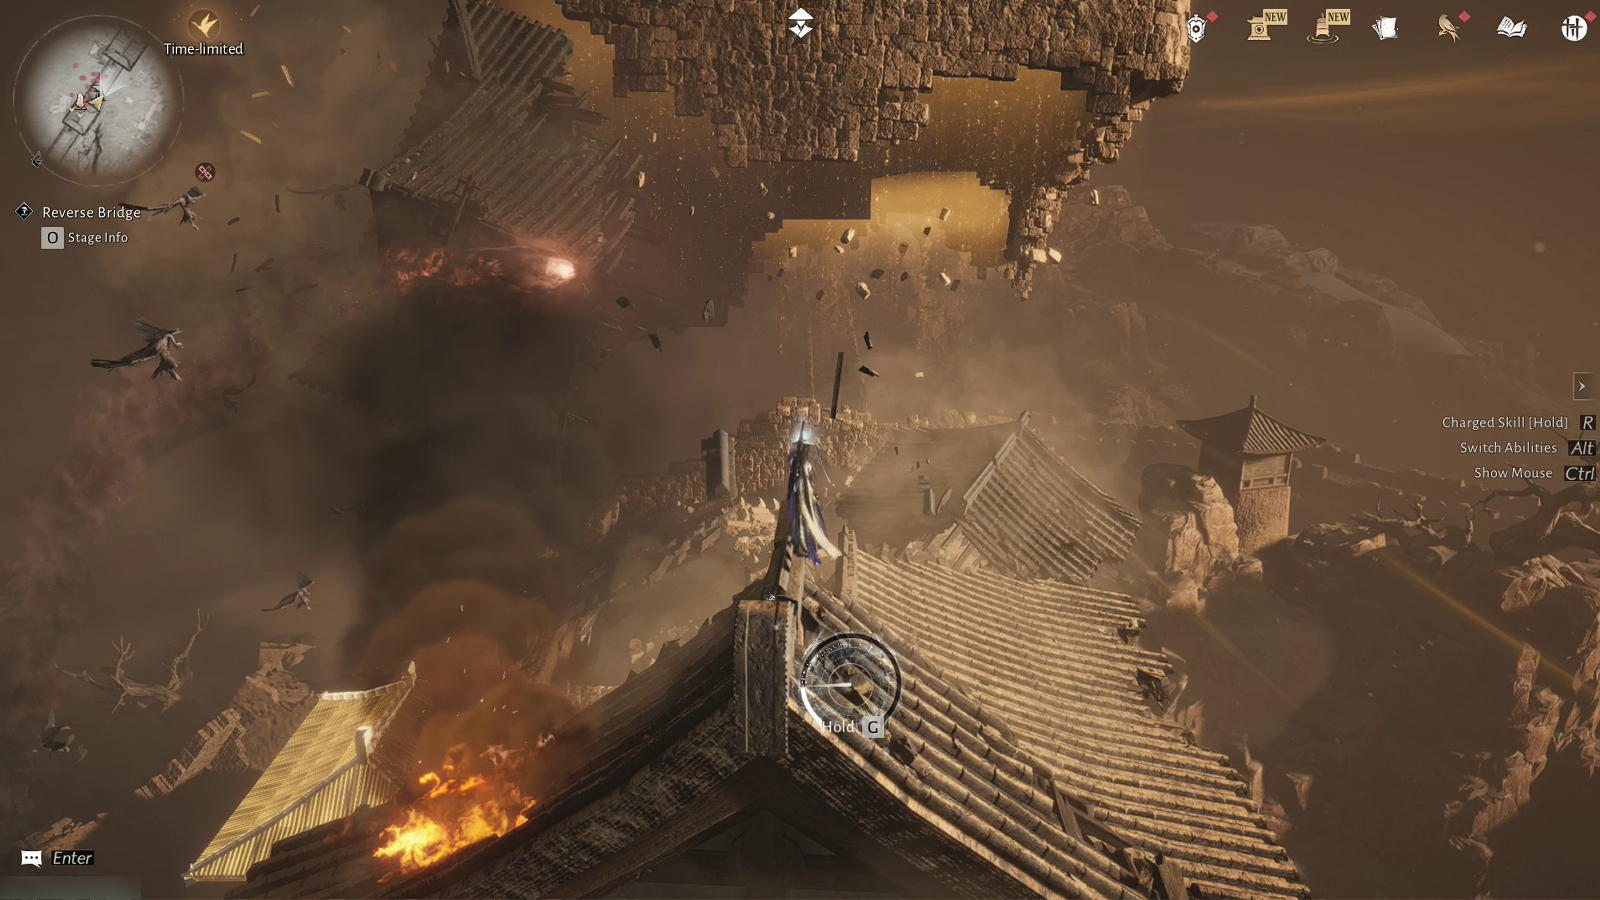
After the events in the Grain Tower, you can make your way to the next flag on the left-hand side, further down the path. After interacting with the flag, you’ll be brought into a new section where you’ll need to manipulate the environment to move forward. Reverse the rooftop debris several times, allowing you to bring a rooftop with a ballista closer to you. When done, use the ballista to defeat the siege monsters flying around the debris.
This will happen one more time, and you’ll need to manipulate the rooftops behind you to drop lower and activate another ballista. After the second shooting section is complete, you will reverse the roofs once more and drop onto the wall to help the soldiers defeat the remaining siege monsters. When done, you’ll need to grapple to the same roof you had used to drop onto the wall, grabbing the falling flag and ending the sequence.
Placing The Flags
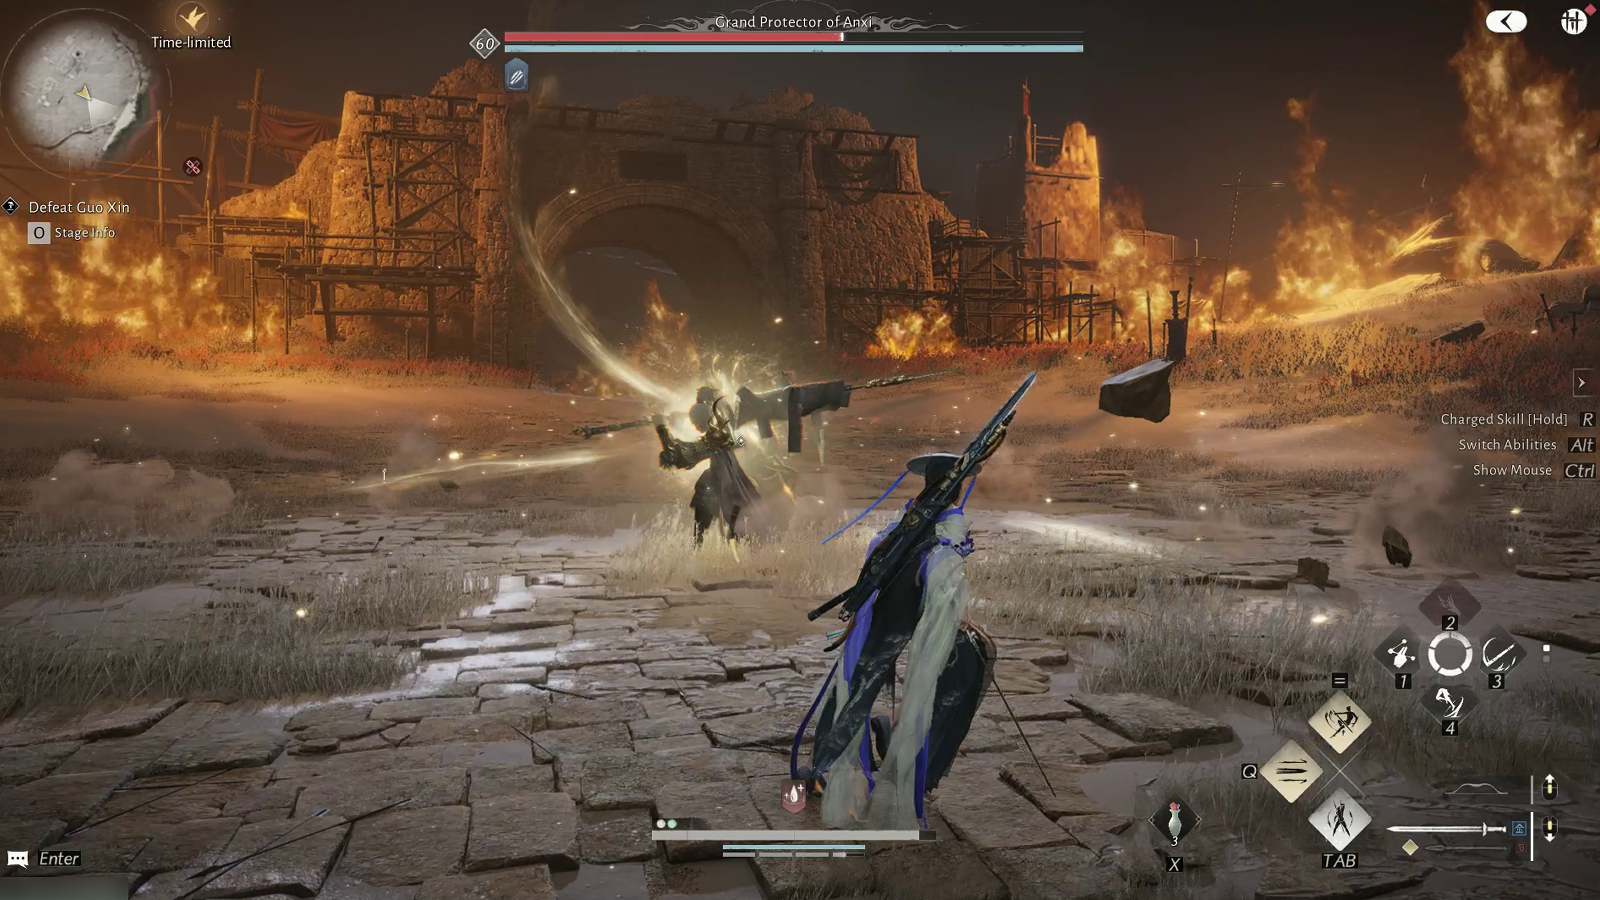
When the sequences portraying the past events are done, you can then move down the path to place all seven of the flags you have gathered. When this is done, you will finally be able to take on the Grand Protector of Anxi once again. He will have two phases this time and can still summon his guard to help fight you. Like before, the guard is only temporary and can be parried in tandem with the boss himself. Stay defensive in this fight and parry as often as possible. When he transitions into phase two, he will then become the Iron-Blooded Prince with an even more aggressive moveset. After his defeat, you will be given a Record of Whitecrown Fortress and the events that had taken place, allowing you to return to the location for daily boss fight rewards.
Related Articles
About the Author

Zach McKay has been enjoying games of many genres for the better part of 25 years. He has a particular soft spot for MMOs and JRPGs in general, though. From being a hero in DC Universe Online to the grizzled adventurer in Elder Scrolls Online and helping command the army in PvP, he loves to try new games and go on new adventures with his friends.
More Stories by Zach McKayRead Next

Try these five games for free this March!
You May Enjoy

Complete with a gory cinematic that offers a look into the world.

New gameplay, Creation Engines, and the Scent Weaver Sage hero, are now available.

Feature
Wargaming Has Provided More World Of Tanks: HEAT Details Just In Time For Closed Beta Testing
This isn’t your father’s World of Tanks

And yes, that includes the Tomb Raider collaboration.
Discussion (0)